Picture
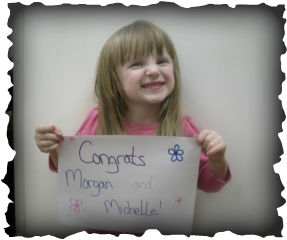
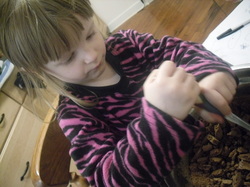
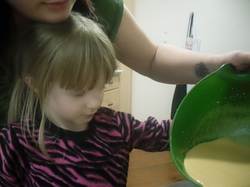
Hey everyone! I'm super excited about my post today because today I am announcing the winners to my Double Giveaway! But.. before I get to the winners, my beautiful niece, Emily, was here today to help with with a new recipe! 
The other day I was shopping at a local store when I noticed that black berries were on a great sale... And they are HUGE! So I had to get em. This is what I came up with after a little research. Enjoy! :) 

Picture
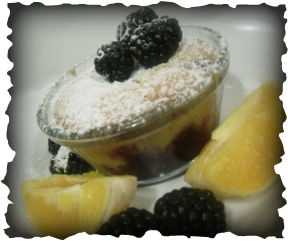
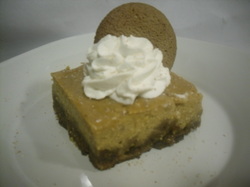
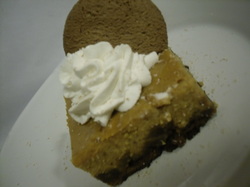
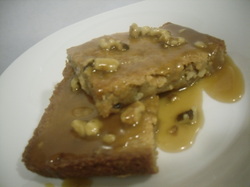
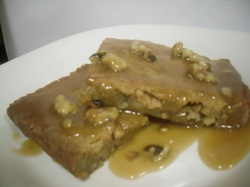
Old fashioned BlackBerry-Orange Pudding
Ingredients:
12 oz fresh Blackberries
1/3 cup sugar
1 Tbl orange zest
1 egg
1/3 cup brown sugar
6 Tbl. melted butter
1/2 cup milk
1 Tbl fresh squeesed orange juice
1 cup flour
1 1/2 tsp baking powder
1/2 tsp salt

Picture
Directions: 
1. Preheat oven to 350. Spray 6-6oz ramekins with baking spray and set aside. 
2. In a mixing bowl, gently toss your black berries, white sugar, and orange zest. Divide evenly into your ramekins. 

Picture
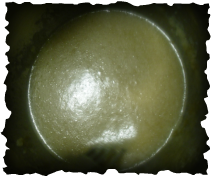
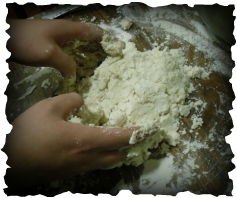
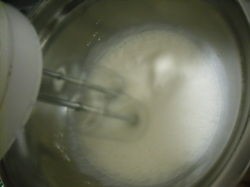
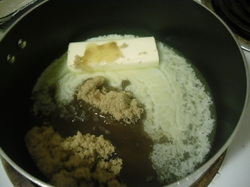
3. In another mixing bowl, whisk together the egg, brown sugar, orange juice, and milk. Add a little of this mix to the melted butter and mix in. Then combine it all together. (You don't want your melted butter to cook bits of your egg!)

Picture
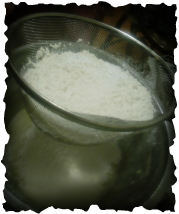
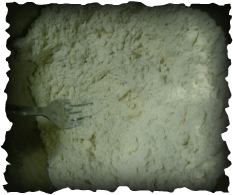
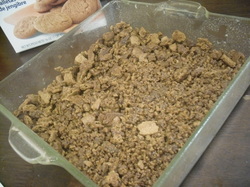
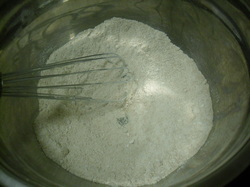
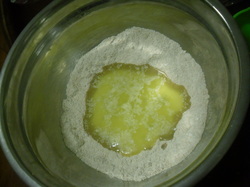
4. Sift flour, salt, and baking powder together into the egg mix. Fold in gently (little lumps are okay.)

Picture
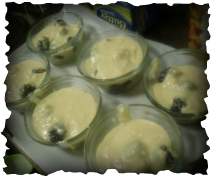
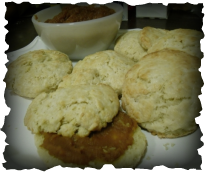
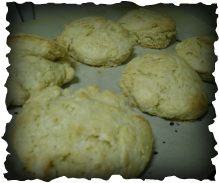
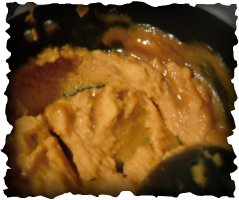
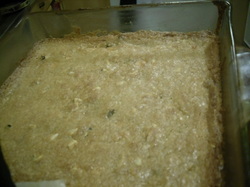
5. Spoon batter evenly over the blackberries. Bake for 26-28 minutes until golden and crisp on top. You don't even have to let this cool. Sprinkle with powdered sugar and enjoy! 

Picture
Now... I know you are all here mainly to find out who won the giveaway. Ok, ok. I'll quit stalling. The winners for the Double Giveaway contest are...........


Morgan Jenkins and Michelle Gardner! Congrats to you both! The winners now officially have 3 days (Friday Nov 30th) to contact me and claim their prizes before I draw another random winner to replace them. Congratulations ladies! 

If you haven't already please go and 'like' my facebook page! It's a great way to keep with with new recipes, posts, and giveaways! You can also follow me on pinterest and pin all of my recipes to your boards to try later. 
If you have any questions or comments, please feel free to comment below, or contact me through email or my facebook page! I look forward to hearing from you! 
 
Picture
Why hello, hello all of my beautiful and wonderful followers! It's the time of year that makes you realize everything that you are thankful for. I'm very thankful for my friends and family that have supported me and helped me in SOOOOO many ways. And I'm extremely thankful for all of my fans! You are the reason I do this and you help me more than you know. So thank you!!

Now for anyone that is not caught up on things, let me give you the run down! A while back I was working to get to 100 fans on my facebook page. Thanks to my good friend Jennifer, In that one night not only did I reach my 100 fan goal, but more than doubled that! I now have over 250 fans and I am just ecstatic! Now I had already planned on having a giveaway as soon as I reached the 100... but considering the circumstances I figured a DOUBLE giveaway was a better idea! Don't you agree? Now I will have a chance for 2 lucky fans to win! More on the giveaway here in a bit. But first, I have a super simple recipe for you! Enjoy! 
Picture
Buttermilk Biscuits
2 cups flour
1/4 cup sugar
2 tsp baking powder
1/2 tsp baking soda
1/2 tsp salt
1/2 cup (1 stick) cold butter, cubed
3/4 cup cold buttermilk

Picture
Directions
1. Preheat oven to 400. 
2. In a mixing bowl sift all dry ingredients. Use a pastry blender or fork to blend butter into the mix. DO NOT USE YOUR HANDS. The heat from your hands will melt the bits of butter and it won't turn out. Also try to work fast, so the butter doesn't warm up too much. 
3. After the butter is blended in enough that it looks like little crumbles, add your buttermilk. Make sure it is super cold too. It helps! 
4. Dig in. Use your hands to mix the batter, but not completely. I only folded in the batter 5 or 6 times. IT'S OKAY if your flour and everything isn't completely blended in. (This was the hardest part for me, because I'm so used to 'mixing well' lol)
5. Turn dough out onto a lightly floured surface. Use your hands to push the dough together, but DON'T BLEND IT. Make your dough 3/4- 1 inch thick. 

Picture
6. Use a biscuit cutter or a fancy schmancy cup and dip it in flour and cut your biscuits. When you need to roll the dough out again just sort of smash it all together without mixing it anymore. When I got 5 biscuits cut out, I used the last of the batter and shaped the last biscuit by hand. 
7. Place biscuits on a greased pan or a baking pan lined with parchment paper. 
8. Bake for 12-14 minutes, rotating halfway through bake time until golden on top. 
9. Remove from oven and let cool. Then smoother it with some Maple Pumpkin Butter. Yummmm.. Oh.. you don't know how to make that? Well let me tell you!! 

Picture
Maple Pumpkin Butter
1- 15oz can of pureed pumpkin
2/3 cup maple syrup
2 Tbl. sugar
1 1/2 tsp ground cinnamon
1/4 tsp ground ginger
1/2 tsp ground nutmeg
1/4 tsp ground cloves

Directions
In a sauce pan add all of these ingredients, and cook over medium heat. Stir constantly for about 5 minutes. Remove from heat. Eat. On. Everything. 

Yes. It is that easy. :) This would be perfect for a quick Thanksgiving breakfast! 

Picture
Now that we got that out of the way... let's get back to what I know everyone is really excited about... Double giveaway!! Okay.. here's the prizes that are up for grabs. Both packages will include a surprise package from Tupperware. I absolutely LOVE the Tupperware I use in my kitchen! And most Tupperware items have a LIFETIME WARRANTY. The prize packs will also each include a set of homemade recipe cards, plus a small surprise will be in each package. :D
How to Enter
1. 'Like' my facebook page, if you haven't already.
2. Share my facebook page onto yours. 
3. Comment on this blog post. 

Simple as that! I hope to get a TON of entries, so invite your friends to try and win too! 
The contest will be closed for submission at 10 pm (central time) on Monday November 26th. The winners will be notified on the following Tuesday and will have 3 days to contact me and claim their prize before another winner will be chosen to replace them. 
Each person is only allowed 1 entry. Anyone found trying to double enter will be disqualified. If you have any questions or concerns please feel free to contact me! 
Good luck everyone! 

 
Picture
Hey everyone! I hope everyone is doing well! I'm so excited! Thanks to my good friend Jennifer at the Mom2moms facebook page, We not only reached my 100-like goal on my facebook page, we doubled that! I'm not sitting at a little over 260 likes! I'm beyond grateful for everyone's support and I can't wait to hear from all of you! 

Picture
So, in honor of all my new 'likes', that are mostly from the Mom2moms fan page, I decided to do a recipe that would be easy for you to do with your kids! I however, do not have any kids (yet).. So instead, I have my beautiful 3 year old niece, Emily, here to help me! So here it goes! 

Picture
Pumpkin Pie Bars
Preheat oven to 350. 
Crust:
Approx. 2 cups of crushed ginger snaps (about 30 or so) 
6 Tbl. melted butter

Directions: To crush ginger snaps, either put them through a food processor, or do what I did and throw them in a gallon size zip lock and let the kiddos have at it with a rolling pin. (Emily seems to have a lot of anger for a 3 year old. lol). Mix crushed cookies in a bowl with melted butter. Press into the bottom of an 8'' square pan. 

Picture
Filling:
1 (15oz) can of pumpkin
1 (12oz) can of evaporated milk
2 eggs, beaten
3/4 cup sugar
1 tsp cinnamon
1/2 tsp ground ginger
1/4 tsp ground cloves
1/2 tsp salt
1/2 tsp nutmeg
1 tsp vanilla

Directions: In a mixing bowl, mix all ingredients. (Easy enough, right? lol) Pour over your crust. Bake for 45-50 minutes, rotating halfway through bake time. Let completely cool. 

Picture
Whipped Topping
1 cup heavy cream
1 tsp vanilla
1 Tbl powdered sugar

Directions: Mix with a hand mixer until stiff peaks form. Top off your delicious pumpkin bars. :) Enjoy! 

Picture
For anyone that hasn't yet, please go like my facebook page! It's a super easy and great way to keep up on my blog posts and giveaways! Speaking of giveaways... I believe I promised a giveaway once I reached 100 fans on my facebook page. And as I stated before.. I'm way past that now! SO... I'm thinking that I will do 2 giveaways this go around! I will post up details on that in the next couple days, so keep an eye out for it! 
Also you can follow my pinterest page, and pin all of my recipes onto your boards! 
If you have any questions or comments for me, please feel free to comment below, send me a message, or contact me through my facebook page. I look forward to hearing from you guys! 
Happy Baking! 
-Jenni

 
Picture
Well, here I am again! Another delicious recipe for you. :) First, let me say, that today was just not my day. You know if you wake up late for work in the morning, then the whole day feels like you're trying to play catch-up? Well that's what happened today. Everything was going wrong. So.. I did NOT expect these to turn out... but they definitely did! And they are excellent! Maple is another one of those flavors you just can't pass up in the fall... at least I can't. lol Anyways, I hope you guys enjoy them! 

Picture
Maple Walnut Blondies
Ingredients:
1 cup flour
3/4 cup brown sugar, packed
Pinch of salt
1 stick (1/2 cup) butter, melted
1 egg, well beaten
1/3 cup pure maple syrup
1/2 cup chopped walnuts
1/4 cup white chocolate chips (optional of course... but sooooo good)

Picture
Directions:
1. Preheat oven to 350.
2. Spray an 8'' square baking pan with baking spray (or do the old fashioned butter and flour routine. Spraying is easier. lol)
3. In a mixing bowl, whisk the flour, salt, and brown sugar together. 
4. Create a well in the middle.


Picture
5. Put melted butter, beaten egg, and syrup in middle of well. 
6. Whisk in just until combined. 
7. Add walnuts and white chocolate chips and fold in gently. 
8. Spread into baking pan evenly. 

Picture
9. Bake for 20-23 minutes, rotating halfway through
10. Let cool for 15 minutes before cutting, top with maple butter sauce (recipe below.:) ) and/or ice cream. Enjoy! 

Picture
Maple Butter Sauce
Ingredients:
6 Tablespoons butter
1/3 cup brown sugar, packed
1/3 cup pure maple syrup
dash of salt 
1/4 cup cream
1/4 cup chopped walnuts

Picture
Directions:
In a saucepan, add butter, brown sugar, maple syrup, and salt. Bring to a simmer over medium heat, whisking constantly. Simmer for 1 minute. Add cream and walnuts, bring to simmer for 1 more minute and remove from heat. Top off your blondies. :) 

If you haven't yet, please go 'like' my facebook page! I'm sitting now at 93 likes.. and once I reach 100 I'll be doing another give away! Who doesn't love free stuff, right? Also feel free to follow my pinterest page.. I post all my recipes there so you can add them to you're boards to try later! 
If you have any questions or comments, please feel free to message me, comment below, or get ahold of me through my facebook page! I love hearing for you guys! 
Happy Baking! 
-Jenni